Getting started
AtSocials is one place to plan, create, publish and measure your social media across 16 networks. This page shows you around the screen and walks you through your first post.
Your first 10 minutes
- Connect your channels. Open Channels in the sidebar and pick a network under Add a channel. You sign in on that network and come straight back. See Channels.
- Set up your brand. Open Brand and check the name, the publishing timezone and the logo. Describe your brand voice so every AI caption sounds like you. See Brand.
- Choose your posting times. Open Calendar → Posting times and set the times you like to post each day. Posts you add to the queue go out at the next free time. See Posting times.
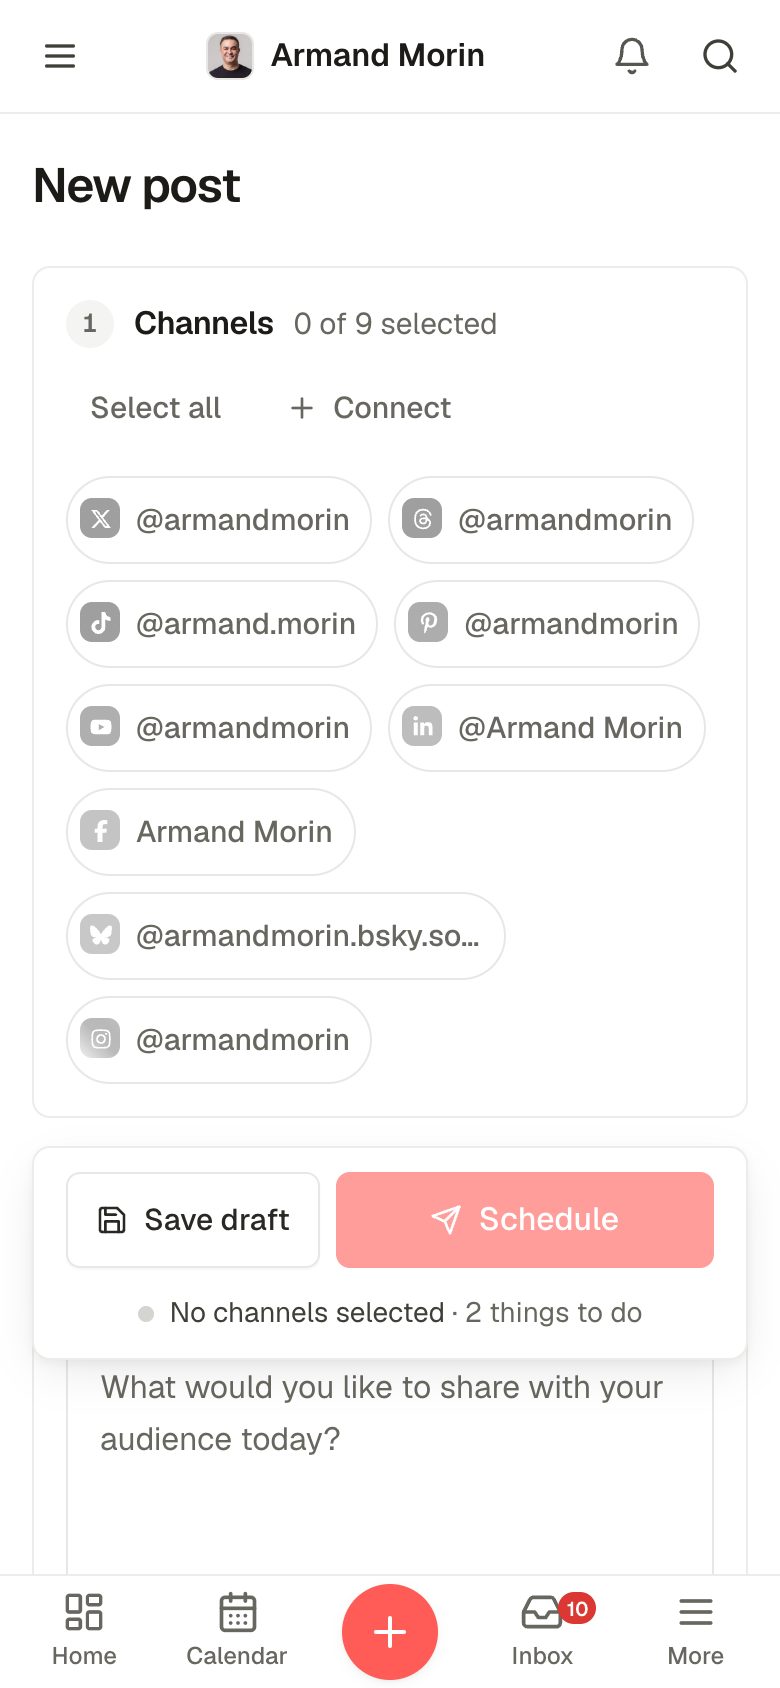
- Write your first post. Click New post (or press C), pick your channels, write a caption or let AI write one, and schedule it. See New post.
- Invite your team if you work with others. Open the account menu at the bottom left → Team & plan. See Team & plan.
The screen at a glance
Every page has the same frame: the sidebar on the left, the top bar across the top, and the page itself in the middle.
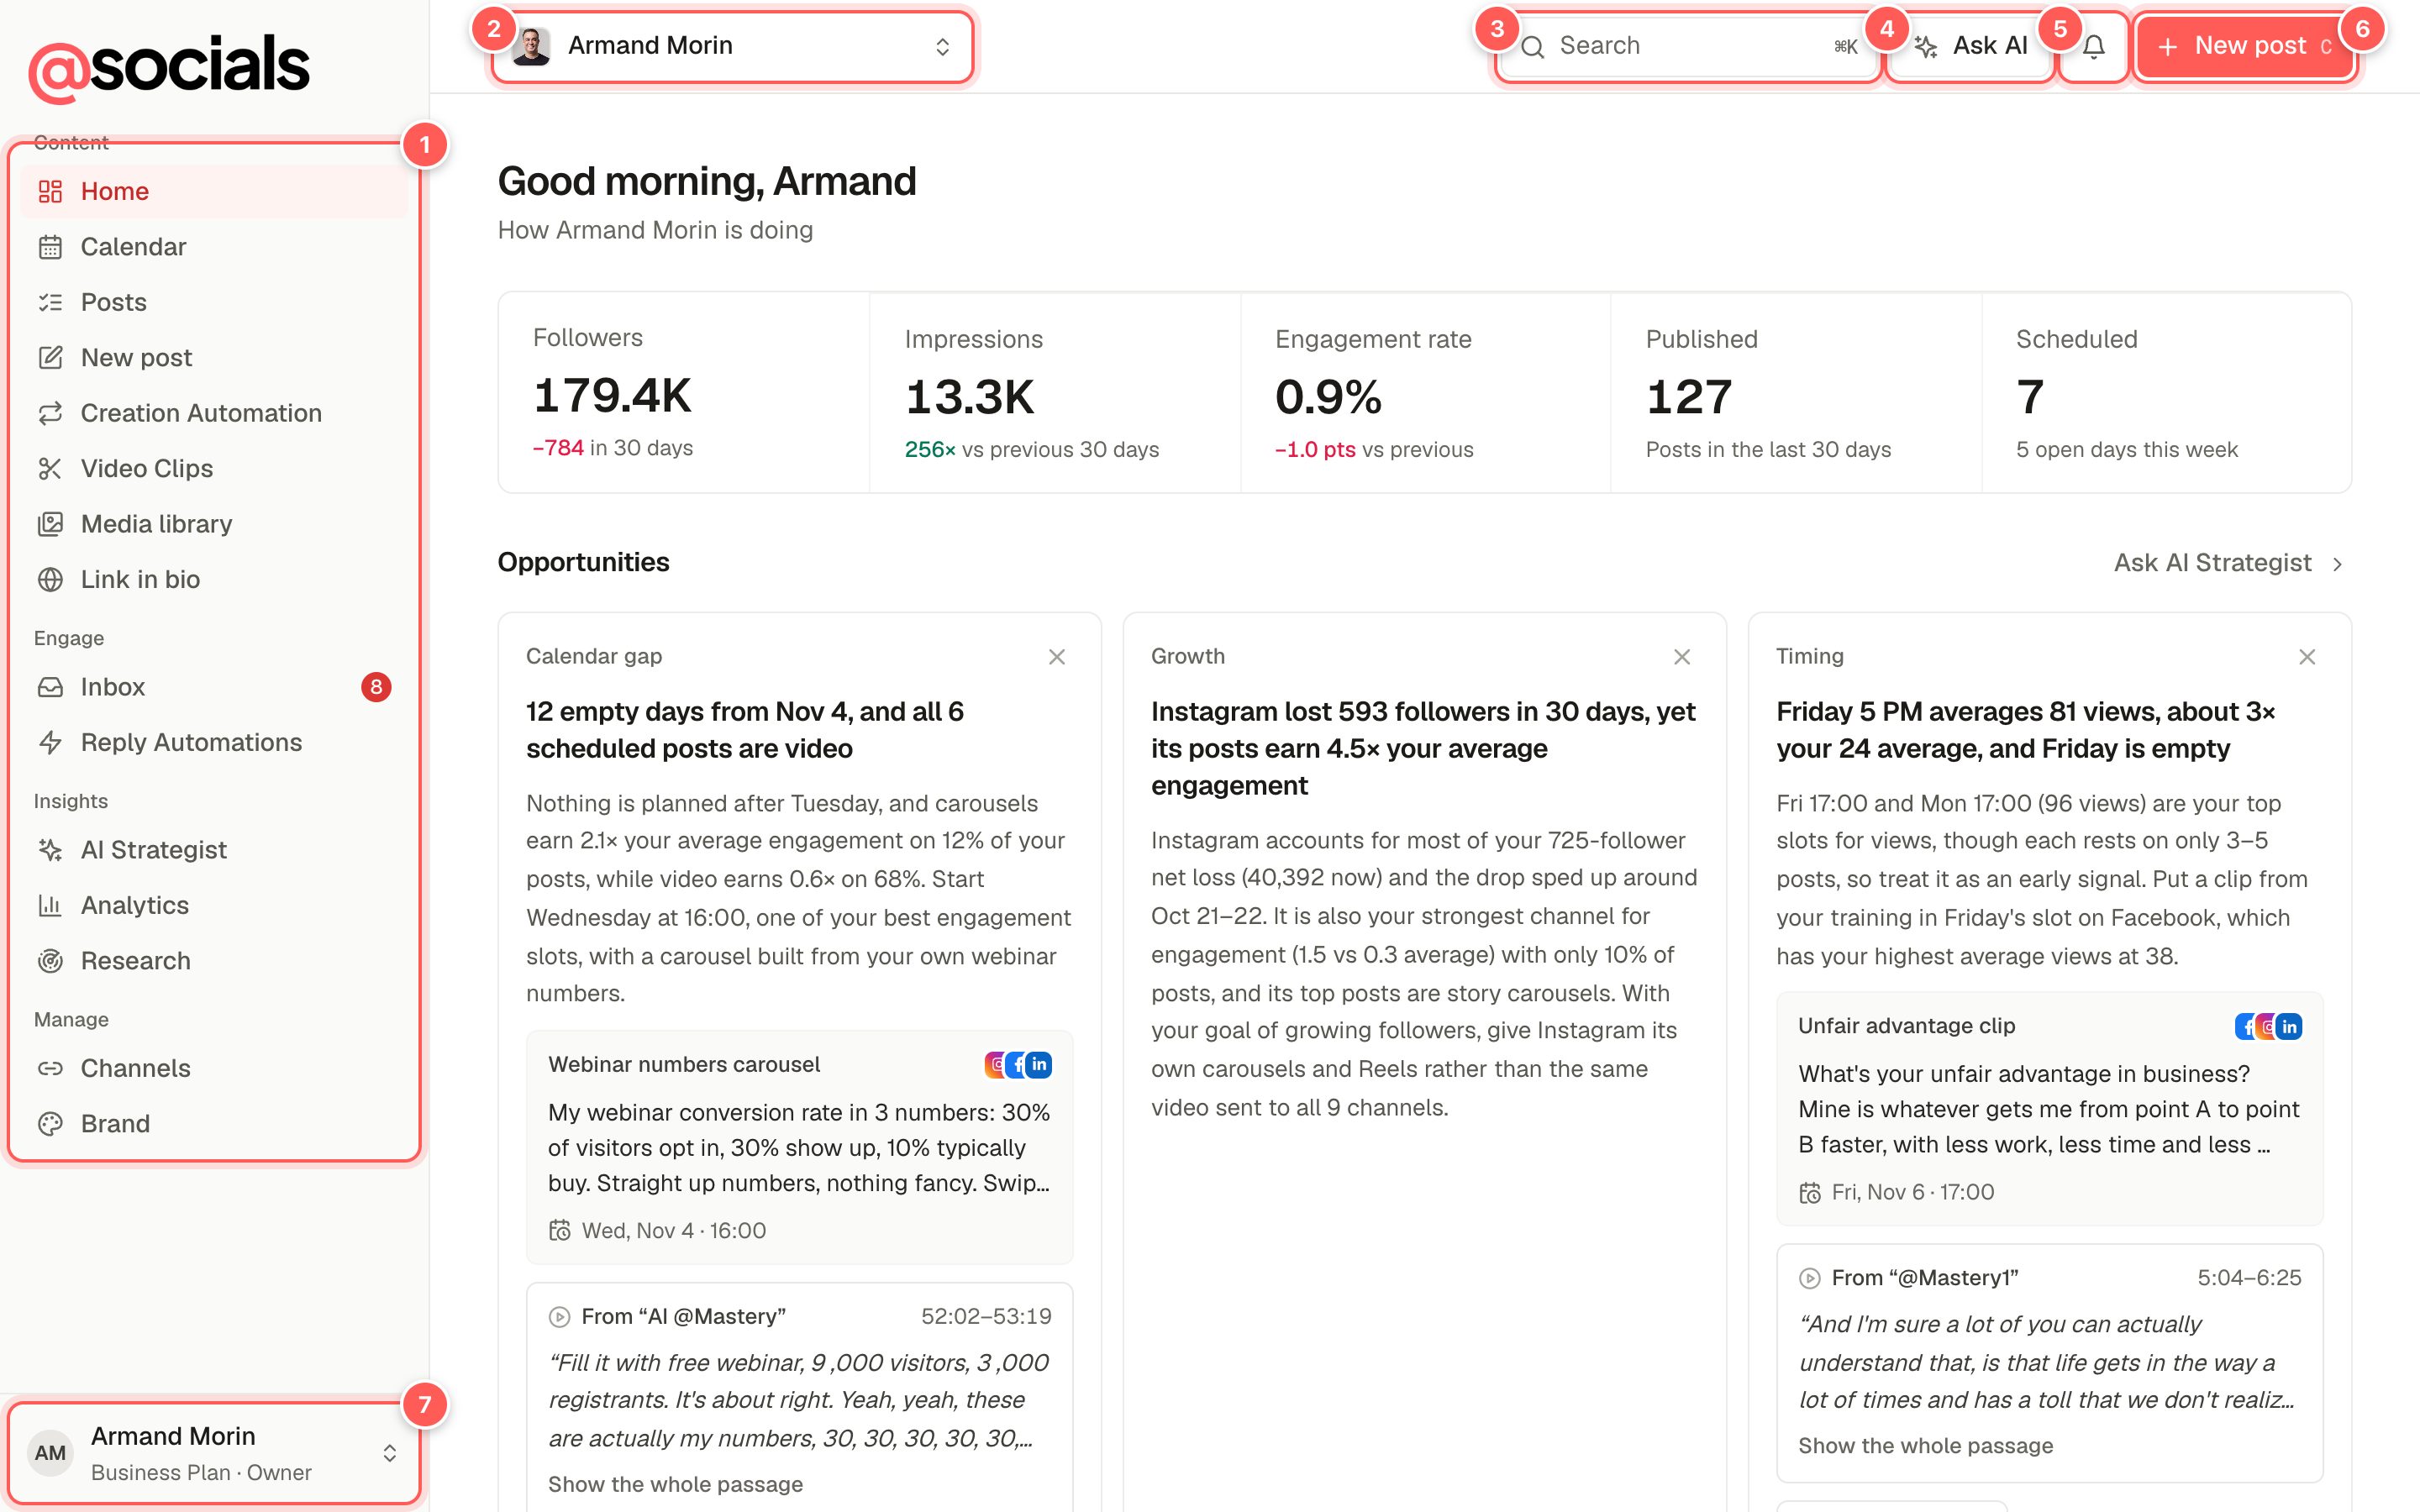
- Sidebar. Every page, grouped by what you're doing: Content (Home, Calendar, Posts, New post, Creation Automation, Video Clips, Media library, Link in bio), Engage (Inbox, Reply Automations), Insights (AI Strategist, Analytics, Research) and Manage (Channels, Brand). The red number next to Inbox is your unread count. Help center at the bottom opens these guides in a new tab.
- Brand switcher. Shows the brand you're working on. Everything you see belongs to this brand: its channels, posts, inbox and numbers.
- Search. Jump to any page or find a post by its caption. Shortcut: ⌘ K on a Mac, Ctrl K on Windows.
- Ask AI. Opens the AI Strategist to ask what to post next or how your accounts are doing.
- Notifications. Failed posts, channels that need reconnecting, approval requests, new messages and announcements.
- New post. Opens the composer. Shortcut: press C anywhere outside a text field.
- Account menu. Your plan and role, plus Team & plan, API & MCP, What's new, Security and Sign out.
Brands
A brand is one business or person you post for. Each brand has its own channels, posts, inbox, analytics and settings, and nothing is shared between brands. Agencies typically create one brand per client.
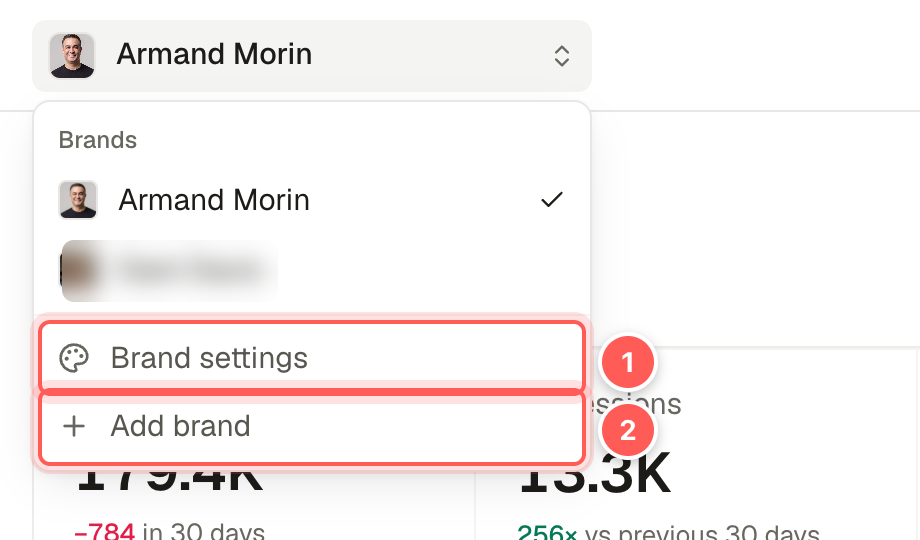
- Brand settings opens the Brand page for the current brand.
- Add brand creates a new brand. How many brands you can have depends on your plan.
Search and shortcuts
Press ⌘ K (Ctrl K on Windows) to open search from anywhere. Type a page name to go there, or a few words of a caption to find a post. Post results open the post on the Posts page.
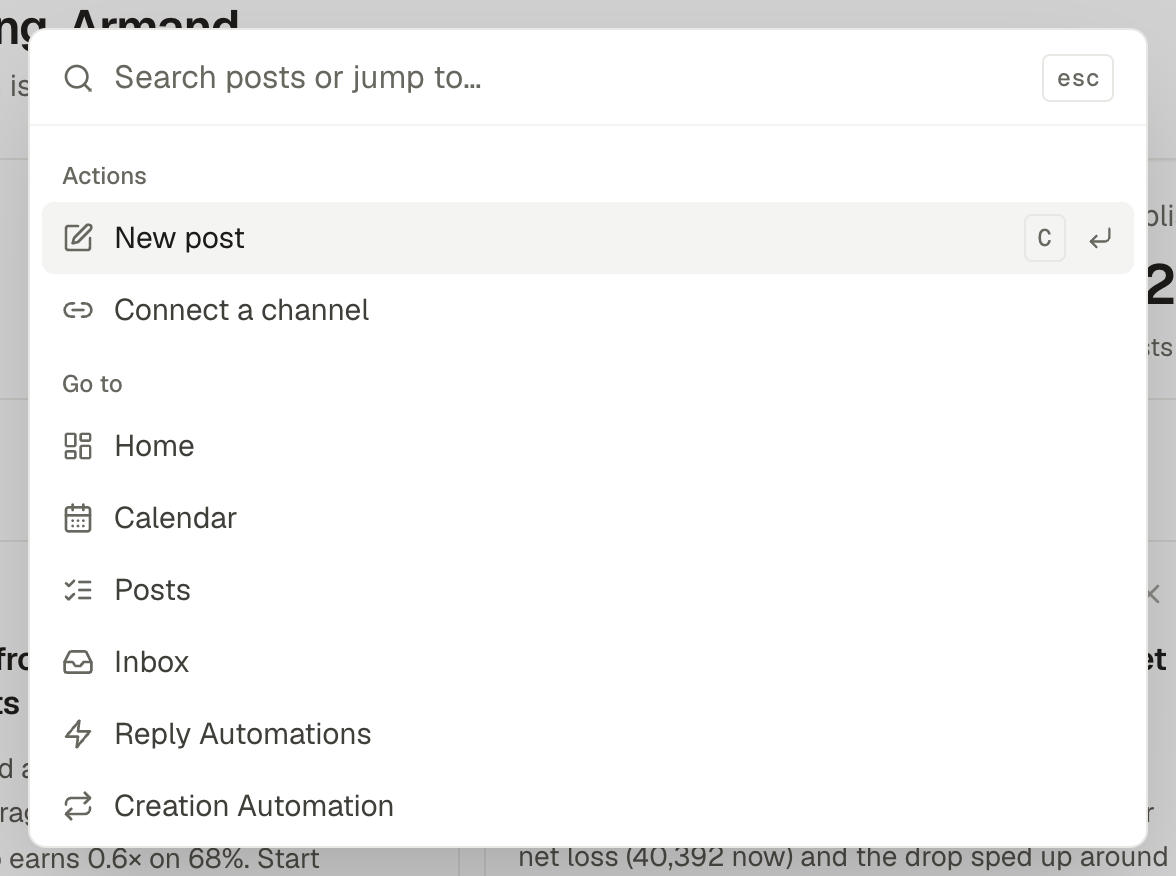
| Shortcut | What it does |
|---|---|
| ⌘ K / Ctrl K | Open search |
| C | Start a new post |
| Esc | Close a dialog, panel or menu |
Notifications
The bell in the top bar shows what needs you: a post that didn't publish, a channel that stopped working, a post waiting for your approval, new messages and comments, finished podcast clips and product announcements. Click one to go straight to it.
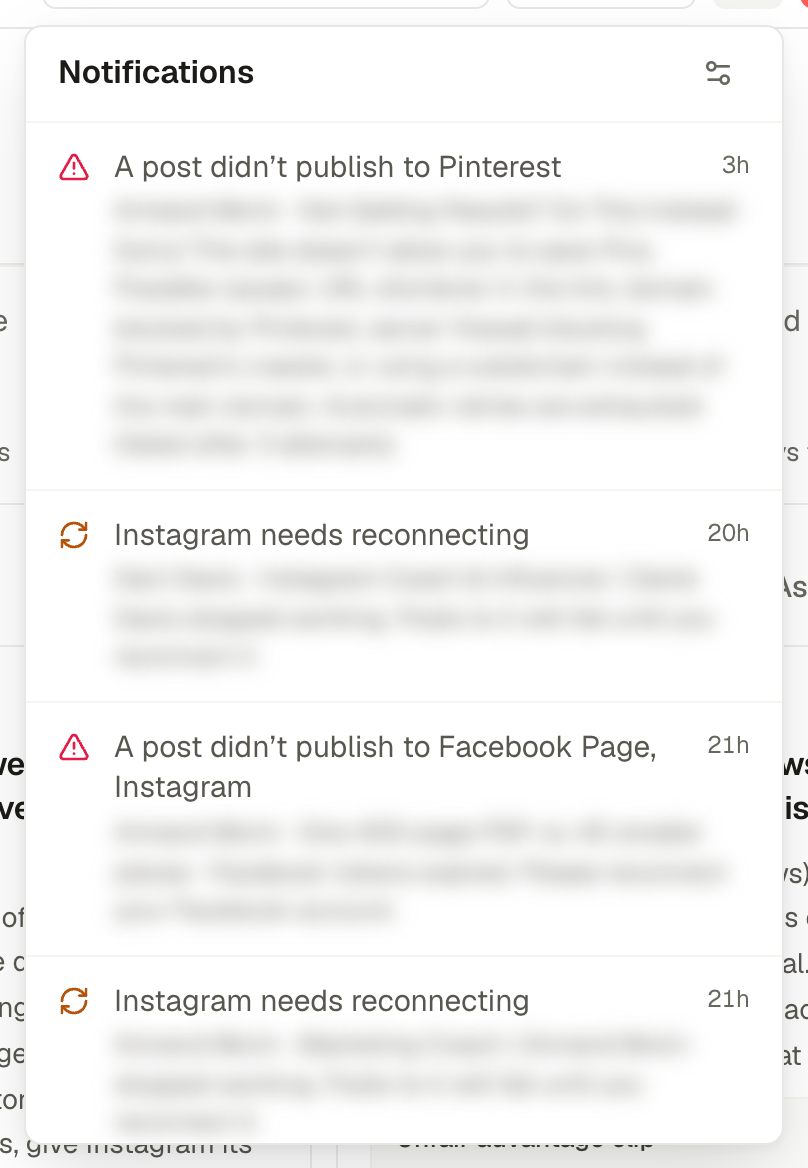
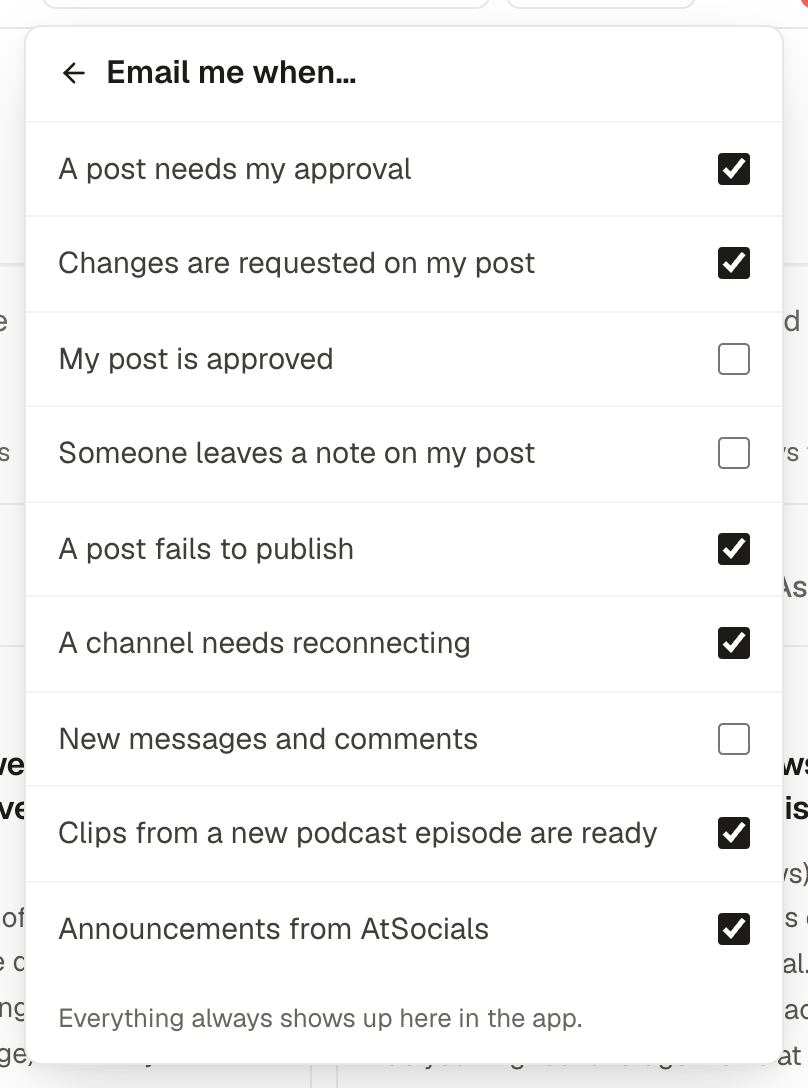
Everything always shows up in the app. The email settings only decide what is also sent to your inbox.
Account menu
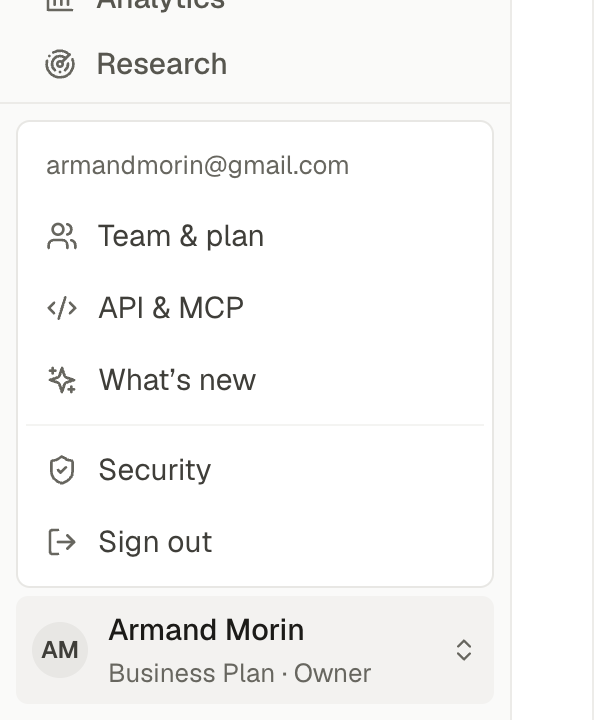
- Team & plan: invite people, client review links, your subscription and the activity log. See Team & plan.
- API & MCP: API keys for your own tools and AI assistants. See API & MCP.
- What's new: product updates. A dot appears when there's something you haven't read.
- Help center: these guides, in a new tab.
- Security: turn on two-factor sign-in. See Account & security.
- Sign out.
On your phone
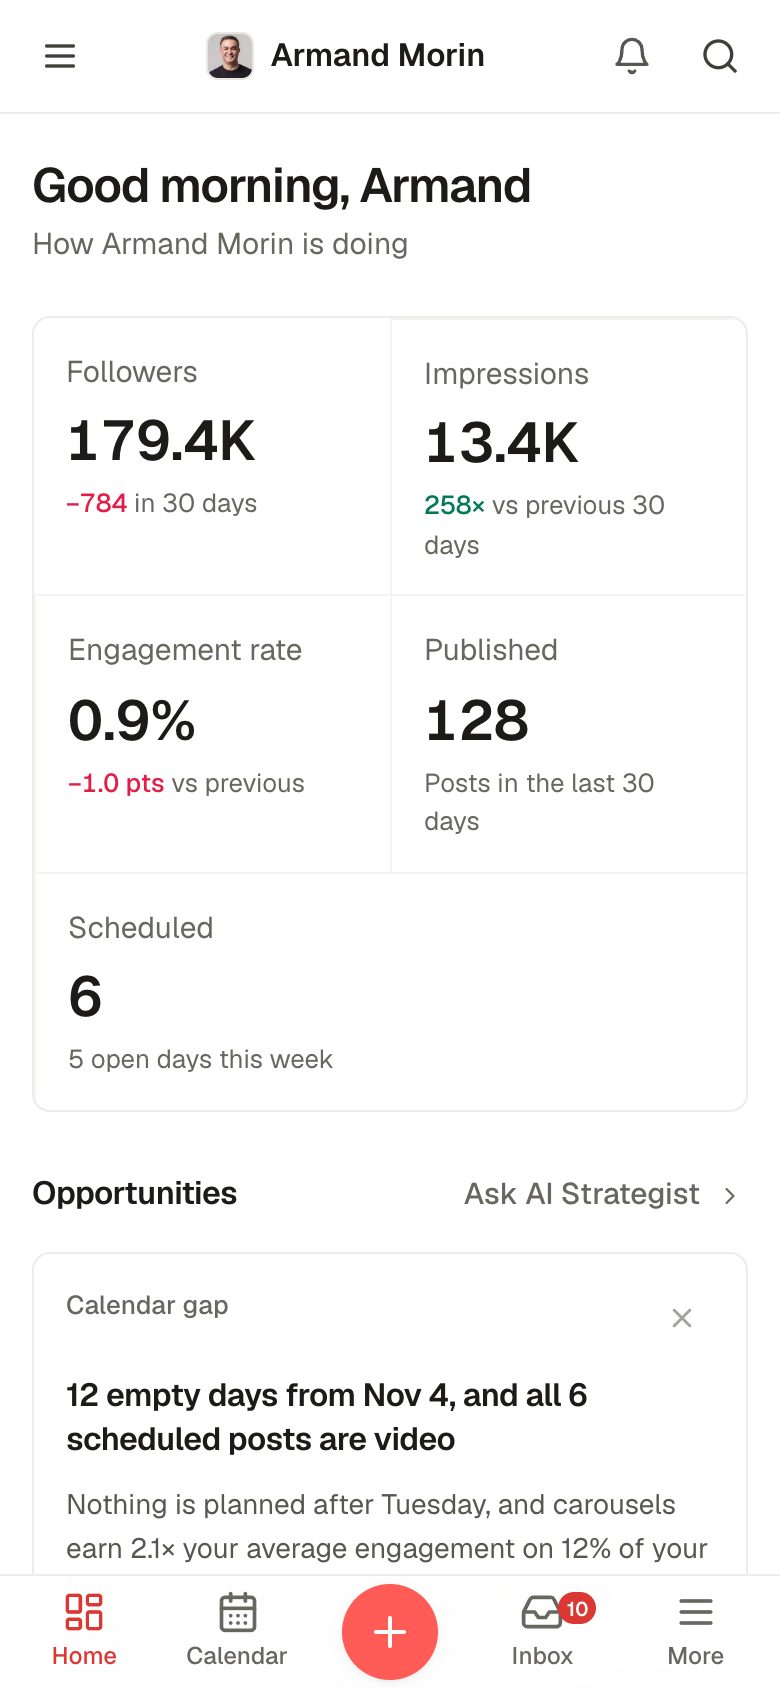
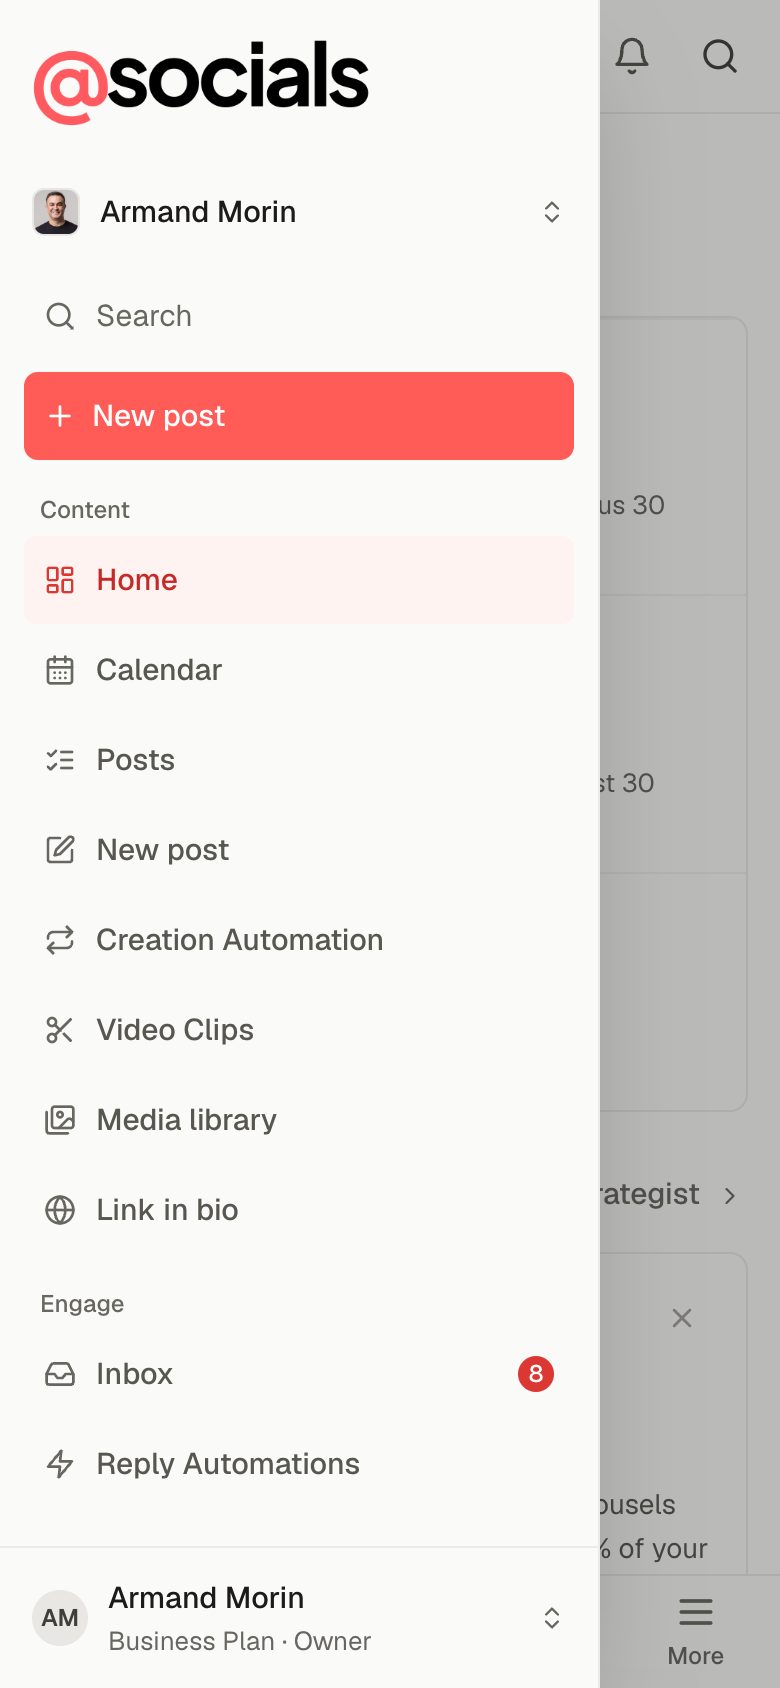
AtSocials works in any phone browser. The sidebar becomes a menu behind the ☰ button, and a tab bar along the bottom gives you Home, Calendar, a big + for a new post, Inbox and More. You can also add it to your home screen like an app; see Use it on your phone.